Use the neoserver checkout. The commands in this guide run from the root of tobilg/neoserver, not the website repository. Clone the project and check out
v0.1.2before starting.
This tutorial starts with an empty catalog and ends with a private layer on a map and a working application connection. All workspace, store, publication and credential management happens in the browser. Prefer scripting? Follow the separate API-first tutorial. Both use the same server and seeded PostGIS data.
1. Start a local learning environment
You need Docker with Compose, Git (to obtain this repository), a browser, and free ports 9000 and 5432. No Go, Node, curl or jq is needed for this walkthrough. Run these commands from the repository root. The first image build can take several minutes and substantial disk space; subsequent starts reuse it.
# Local learning only. Never deploy the example key/passwords.
export NEOSRV_STORE_KEY=abc123
export NEOSRV_SERVER_URLBASE=http://localhost:9000

docker compose -p neoserver-tutorial -f docker-compose.yml -f docker-compose.tutorial.yml --profile postgis build server
docker compose -p neoserver-tutorial -f docker-compose.yml -f docker-compose.tutorial.yml --profile postgis run --rm --no-deps server init --store-path /data/neoserver.db
Copy the Bootstrap Access Token printed by init. This JWT is the browser sign-in credential; abc123 is only the catalog encryption key and cannot sign you in. The token expires after 24 hours. Keep it private.
docker compose -p neoserver-tutorial -f docker-compose.yml -f docker-compose.tutorial.yml --profile postgis up -d --waitOpen the console, choose Token, paste the JWT into API key or JWT, and choose Start session. A newly initialized catalog has no workspaces. The tutorial override enables uploads and persists managed files in the same Docker volume as the catalog. Ports are bound to loopback, not exposed to your network.

2. Create a workspace
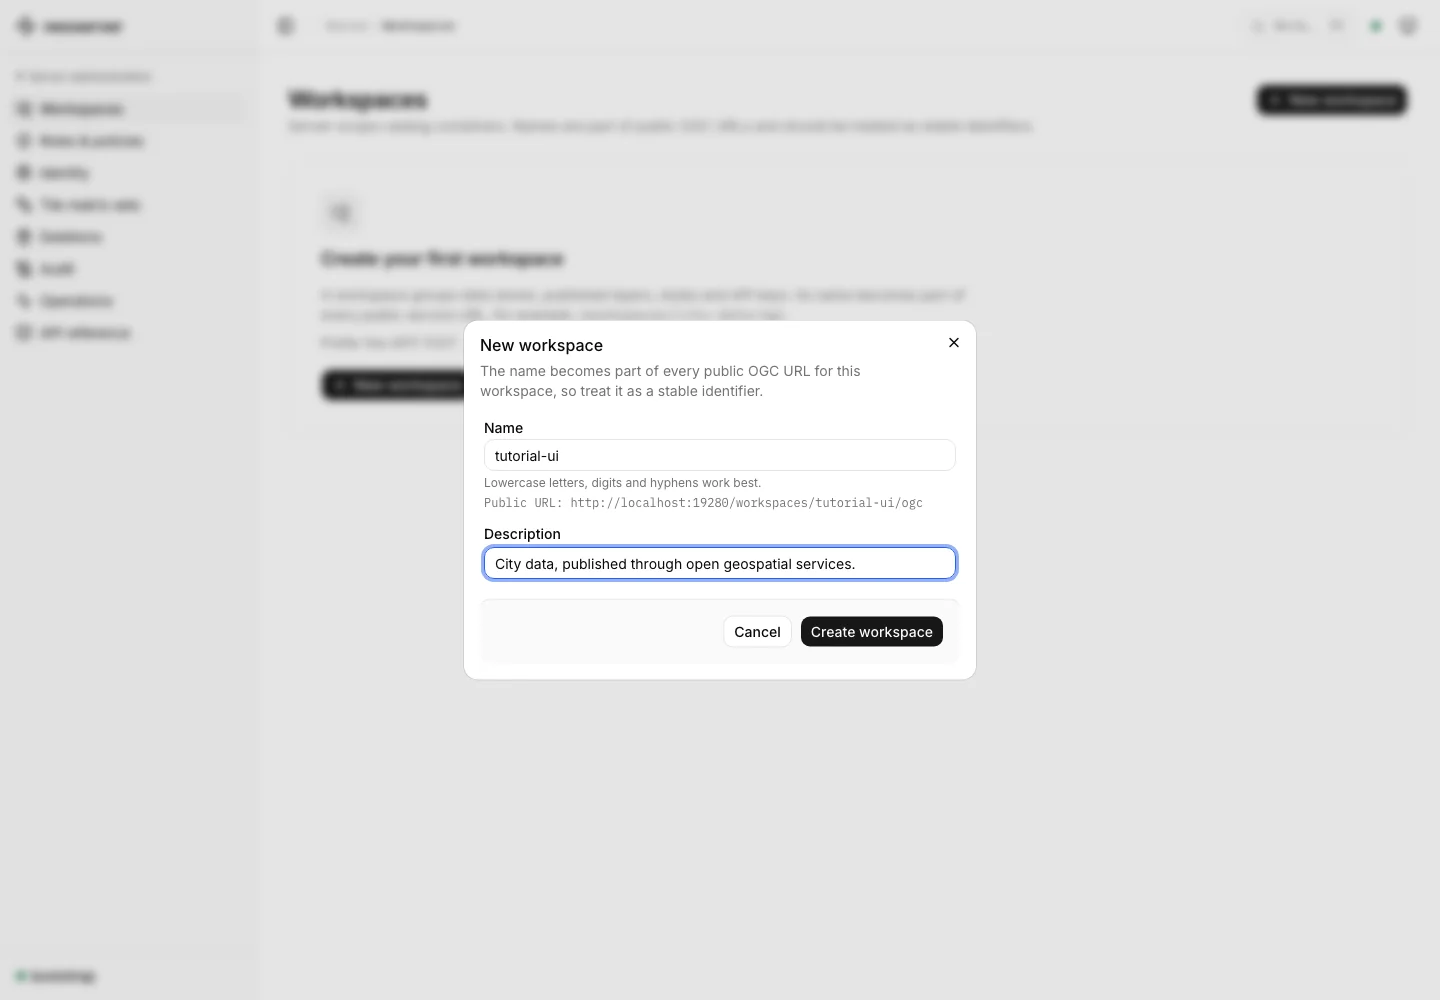
Choose New workspace, enter tutorial-ui as the name and a description, then Create workspace. Open the tutorial-ui workspace. Its Publish your first dataset guide explains the four steps and links to them. You can hide and restore this guide without changing your data.
3. Connect the sample database
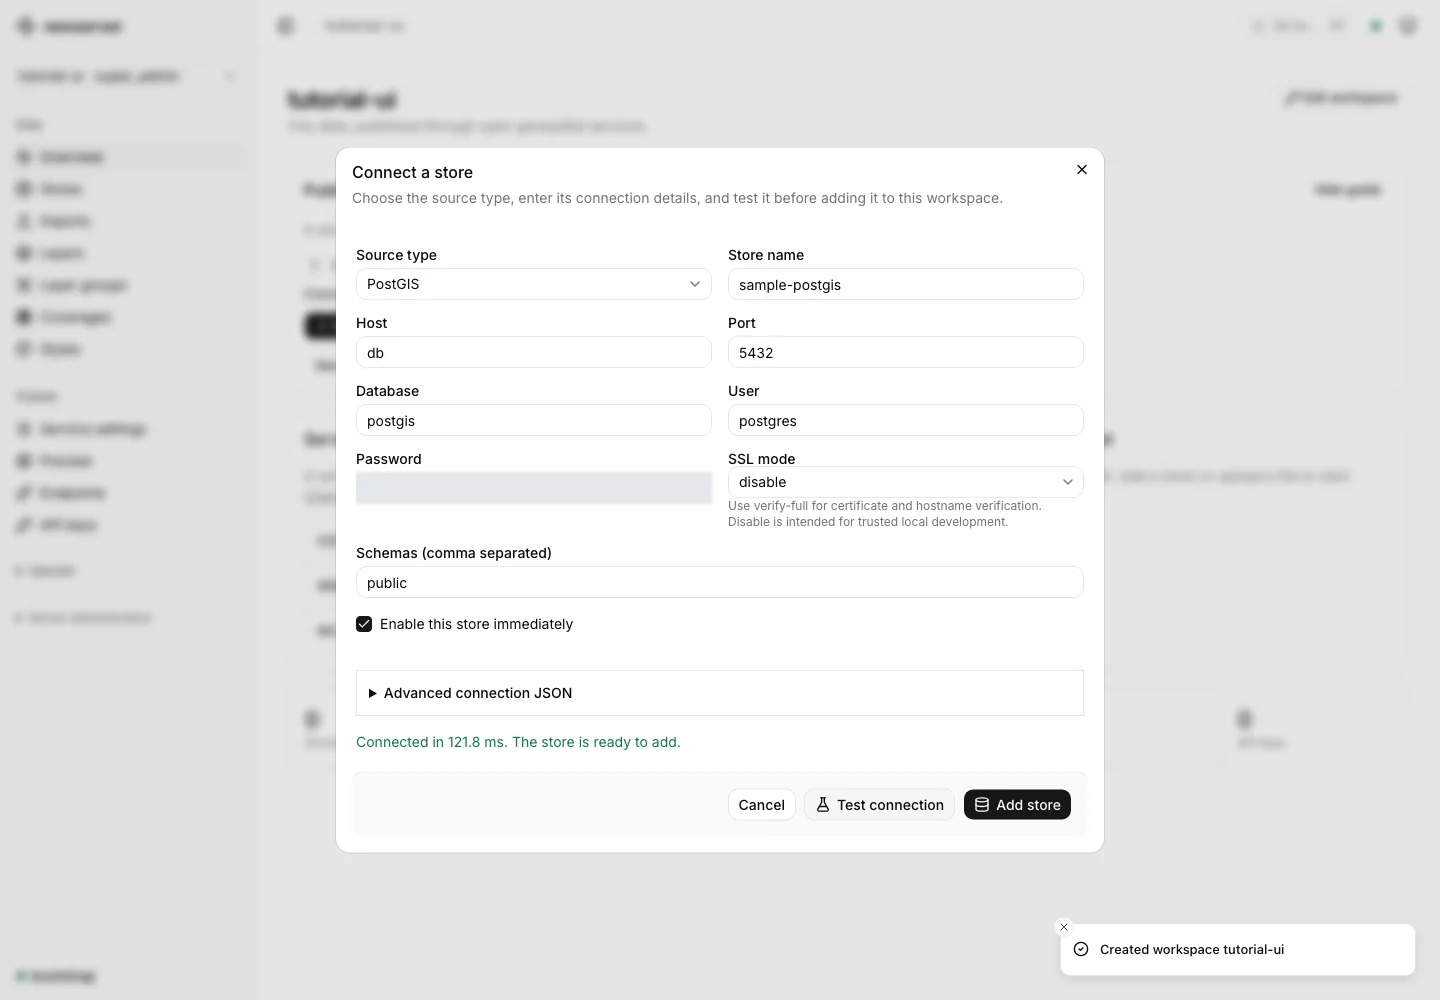
Choose Add store in the guide. Leave Source type as PostGIS and fill in:
| Field | Value |
|---|---|
| Store name | sample-postgis |
| Host | db |
| Port | 5432 |
| Database | postgis |
| User | postgres |
| Password | postgres |
| SSL mode | disable |
| Schemas | public |
db is the database hostname inside Docker, not localhost. Choose Test connection and wait for Connected in … ms, then Add store. These database credentials are exclusively for this local fixture.
4. Discover and publish a layer
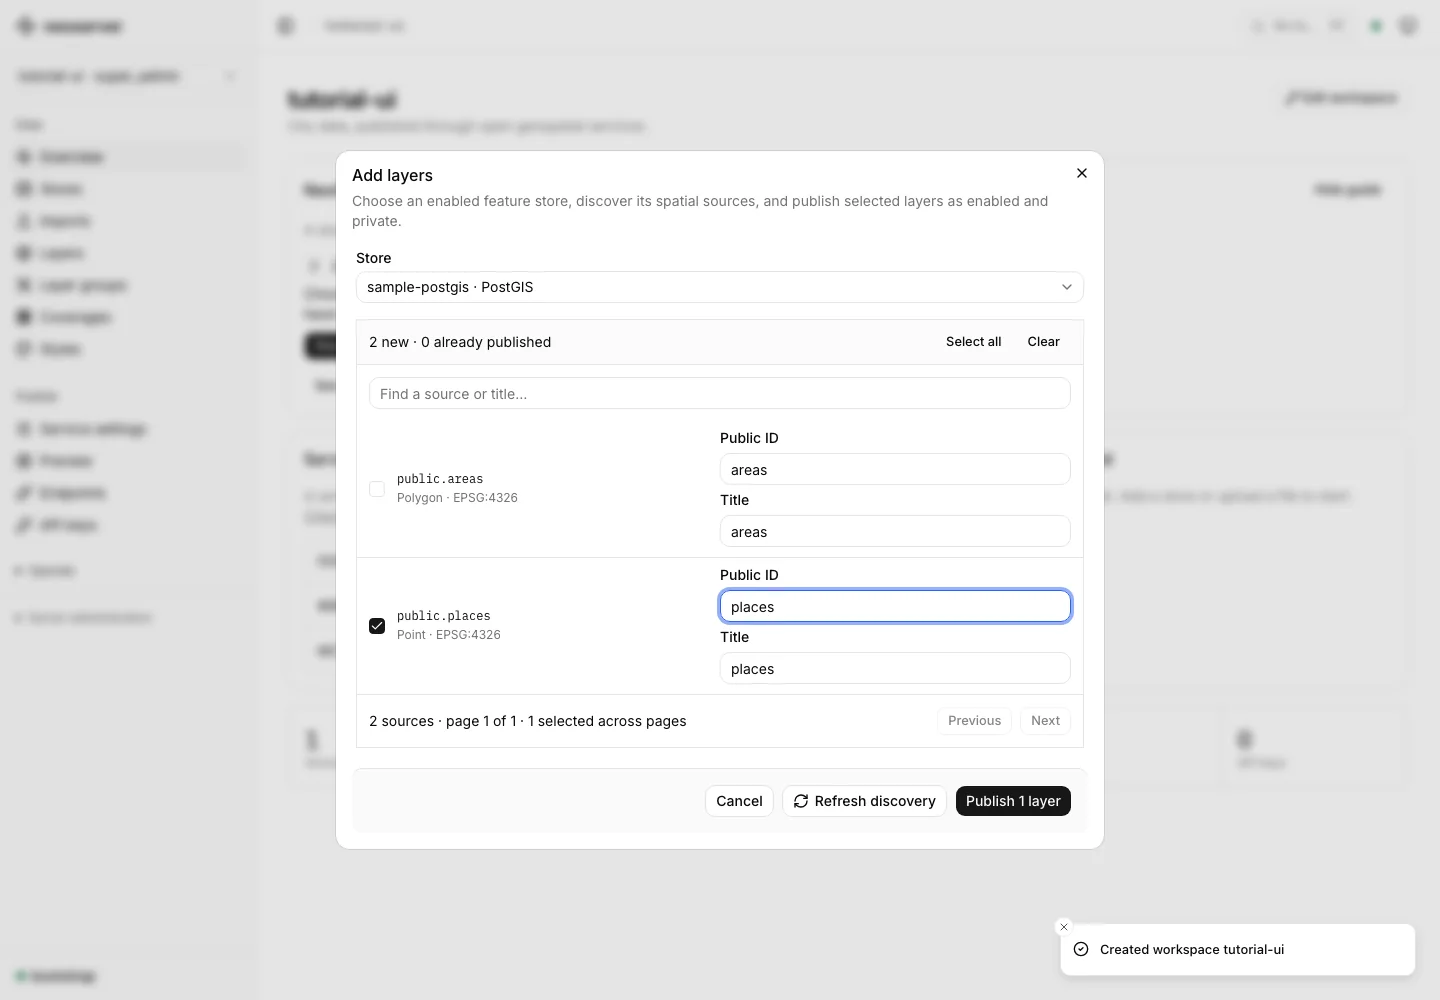
Choose Discover and publish layers in the guide (or Layers → Add layer). Select sample-postgis if it is not already selected, then Discover layers. Clear the initial selection, choose public.places, and set Public ID to places and Title to Places. Choose Publish 1 layer.
The completion dialog offers Preview, Connect a client, and Manage access for each published layer. Choose Done to return to the catalog. The overview now shows a compact publishing summary; Review publishing guide reopens all steps. Before publishing, See all publishing steps shows steps beyond the current one.
Open Layers. A row for places confirms publication. Restricted means the layer is private, not broken. Keep it private for this tutorial. The store, layer and protocol each have an independent enabled state.
5. Preview and enable optional services
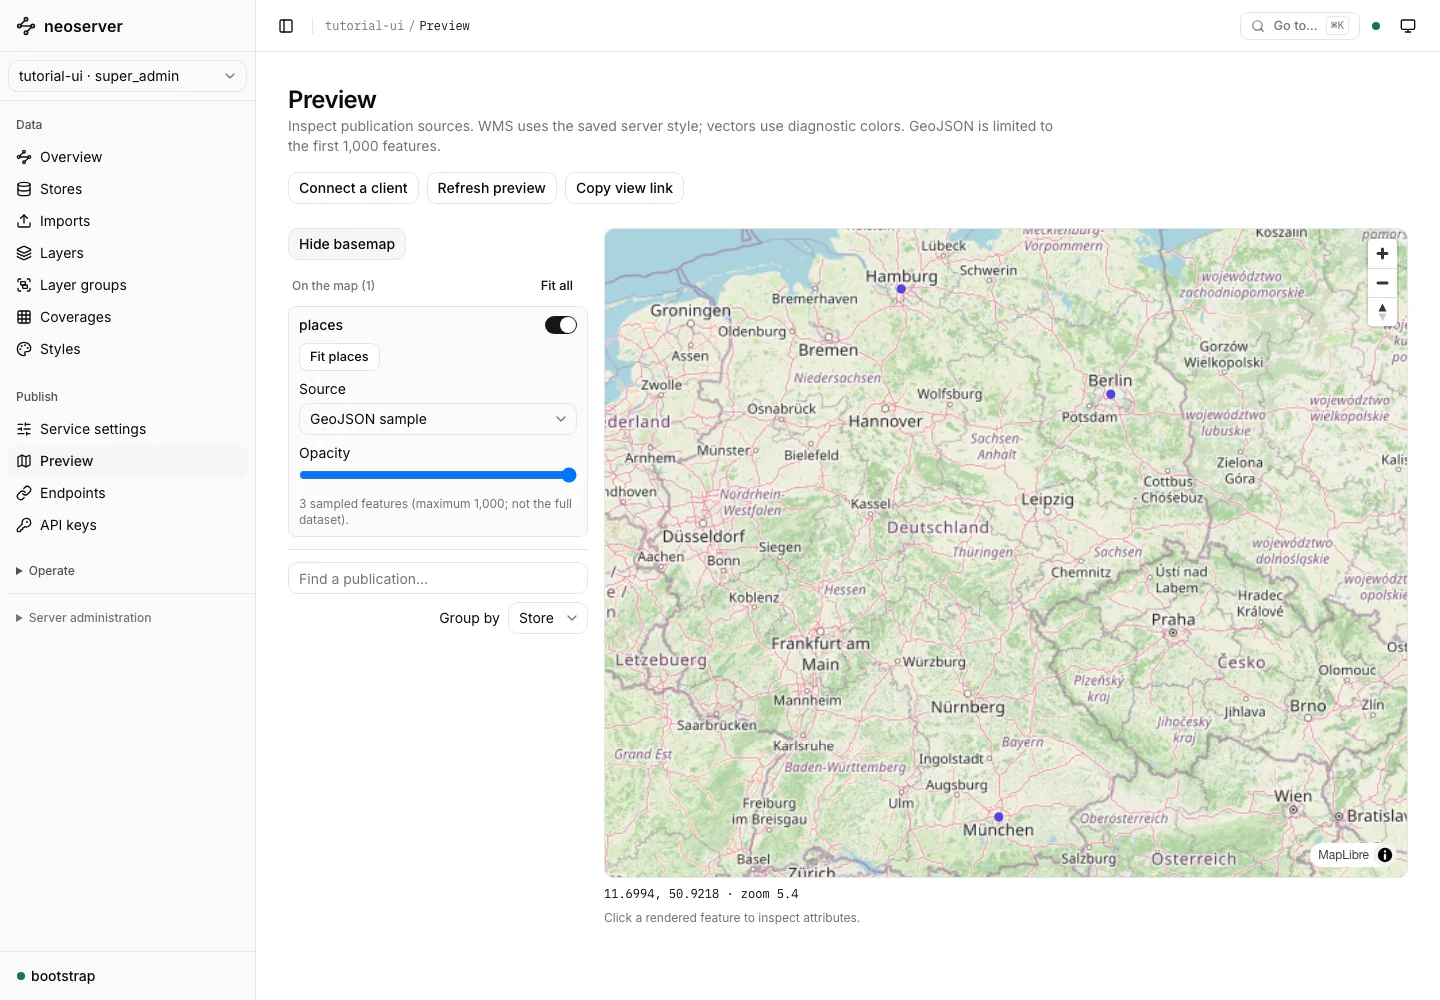
Choose Preview on the places row. The default GeoJSON preview works with OGC API - Features; it does not require WMS. Use Fit for the selected layer if it is outside the current map view. The map should show the seeded point features; click one to inspect its properties.
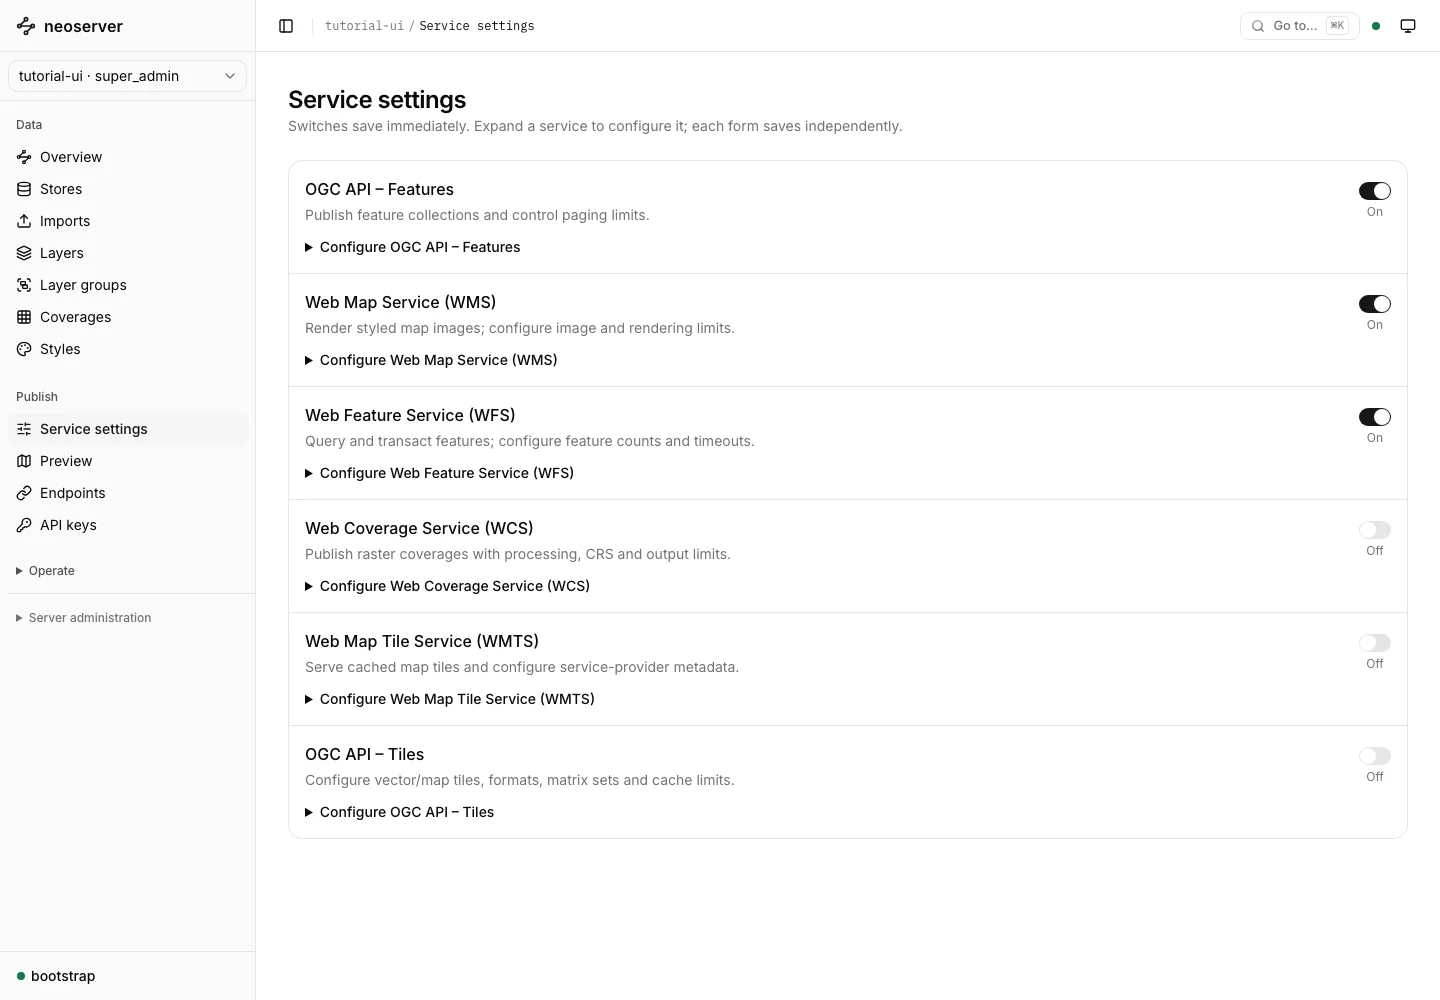
In Service settings, turn on Enable Web Map Service (WMS) and Enable Web Feature Service (WFS). Each switch saves immediately; wait for it to become enabled again and check for errors. You do not need to edit JSON to enable a service. A switch disabled at the server level explains which server setting an operator must change. In Endpoints, inactive services remain grey and their Copy buttons are disabled.
Preview runs with your current console session. Seeing data here does not grant access to another browser or an external application.
6. Connect a real client
-
Open API keys → Create key. Name it
tutorial-reader, keep the role viewer, and choose an appropriate expiry. Choose Create key in the dialog and copy the one-time secret into a password manager. The displayed key ID/prefix is not a usable secret.When you arrive via Endpoints → Manage API keys, Return to connection examples preserves your selected layer. The secret is never added to a URL; keep it in your application’s secret storage.
-
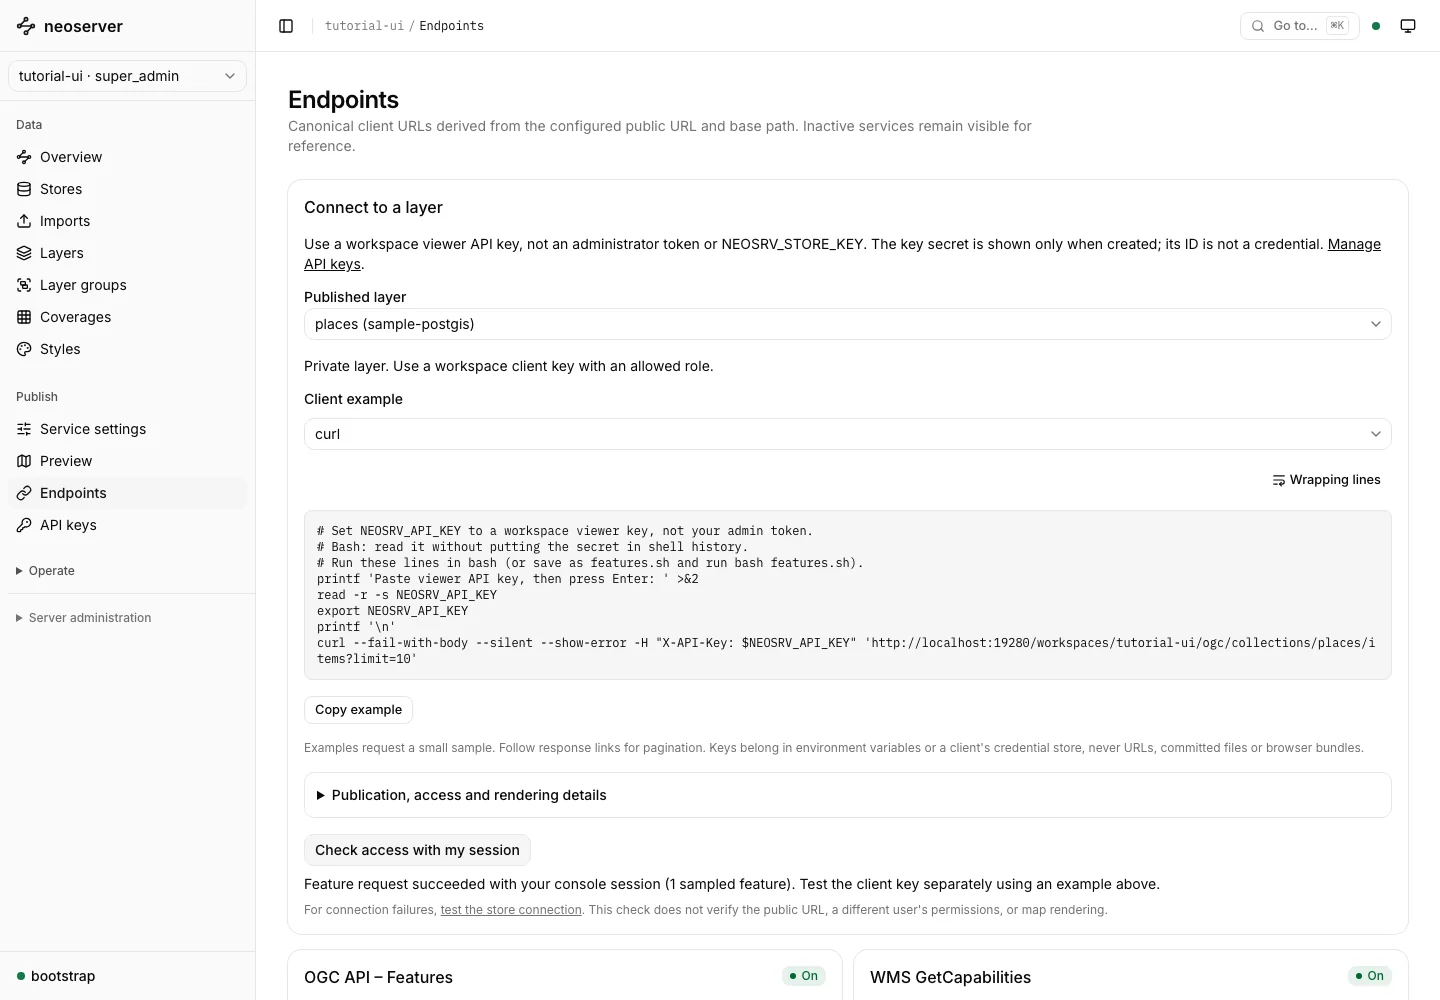
Open Endpoints, select
places, and choose Check access with my session. This performs a read-only feature request and explains permission/data-source failures. It does not validate your new client key. -
Select QGIS for GIS connection instructions (requires QGIS installed separately). In QGIS, create an OGC API - Features connection using the displayed URL. Create an API Header authentication configuration with header name
X-API-Keyand the viewer secret as its value, then select that configuration for the connection. QGIS documents this method in its authentication guide. Connect and addplaces. Do not put the key in a URL. This read/query workflow is supported; QGIS WFS-T editing is not. -
Developers can instead select curl, JavaScript (server-side) or Python, copy the example, set
NEOSRV_API_KEYto the viewer secret, and run it. These are data requests, not management API setup steps. A successful response is a GeoJSONFeatureCollection. Examples deliberately fetch a small sample; follow response links for additional pages.
MapLibre is an integration example: private browser apps need their own authenticated backend route. Never bundle an administrator token or workspace API key into frontend code. Revoking tutorial-reader should make that client’s next request fail while your independent admin session keeps working.
Alternative: upload a file instead of connecting PostGIS
From the workspace guide, choose Upload a file. Name the import sample-places, select testing/tutorial/places.geojson from this checkout, then Upload and inspect. Wait for inspection, select the source layer in the plan, choose an unused public ID such as uploaded-places, and leave Public off. Choose Validate plan, inspect the feature preview, then Publish dataset. Follow View published layers, Preview on map, or Connection examples.
Uploads are optional and disabled in a normal server configuration. The tutorial override enables them explicitly. If inspection fails, expand the import’s events/error details; correct the plan or source before retrying. A failed import is not a published layer.
Stop, resume and recover
# Stop without deleting the catalog, imported files or database.
docker compose -p neoserver-tutorial -f docker-compose.yml -f docker-compose.tutorial.yml --profile postgis down

# Resume: re-export the same key and URL, then run the up command from step 1.
Do not run init again on resume and do not use down -v unless you intentionally want to delete all tutorial data. To replace an expired sign-in token, stop the server first (the catalog has a single writer), then create a new token with the same key:
docker compose -p neoserver-tutorial -f docker-compose.yml -f docker-compose.tutorial.yml --profile postgis stop server
docker compose -p neoserver-tutorial -f docker-compose.yml -f docker-compose.tutorial.yml --profile postgis run --rm --no-deps server create-token --store-path /data/neoserver.db --role super_admin --expires 24h
docker compose -p neoserver-tutorial -f docker-compose.yml -f docker-compose.tutorial.yml --profile postgis up -d --wait| Symptom | Next step |
|---|---|
| Sign-in failed | Use the full unexpired JWT, not abc123; check you initialized this tutorial project. |
| Catalog locked | Stop the process/container using it before token creation. Do not delete the database. |
| Store connection failed | Check db, database/user/password and PostGIS health; test again in Stores. |
| Layer exists but client gets 403/404 | Check store/layer enabled state, Settings, viewer role and layer allowed roles in Endpoints. |
| Request works but map is blank | Fit the extent, check CRS/geometry and WMS style; use GeoJSON diagnostic preview. |
| Endpoint points at the wrong host | Correct NEOSRV_SERVER_URLBASE and restart. Browser session checks use the local origin, not this public URL. |
| Browser can preview, curl cannot | Browser cookies are not client credentials. Use the full viewer key in X-API-Key. |
For production setup, read deployment, authentication and authorization, and configuration before exposing the server.
Adapted from neoserver’s source documentation . Maintained independently for this website.